 Admin Setup – Teacher Rewards (New)
 How it Works – Teacher Rewards
 Admin Setup – Teacher Rewards
Teacher Rewards – Manage Organization
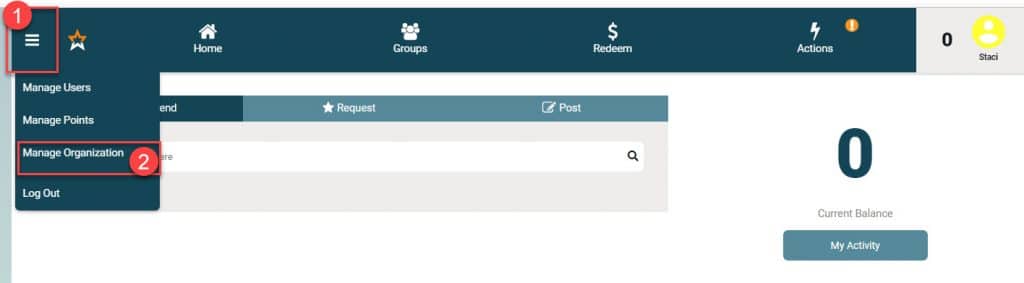
Once in Workplace Rewards for Teachers, you’ll manage the main setup from your hamburger menu in the top right-hand corner. This is where you can manage users, points, and organization.
1. Find the hamburger menu on the left side of the header.
2. Choose “Manage Organization” from the drop-down.
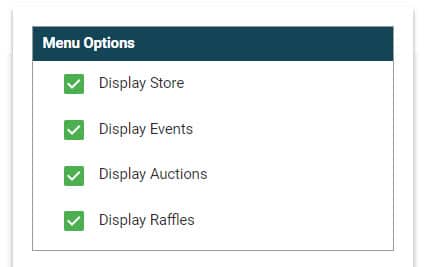
In “Manage Organization” you can set “School Values,” “Menu Options,” “Approval Options,” and “Header Display Options.”
Menu Options: Choose the options that will be displayed to staff.
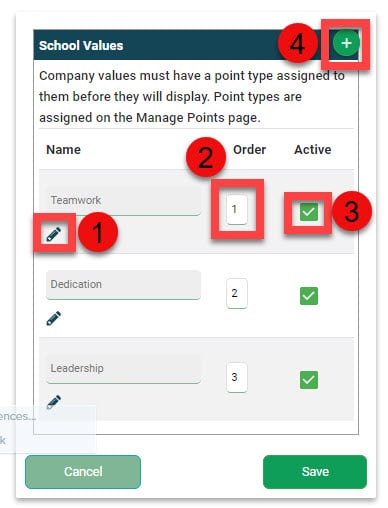
School Values: This option comes with default “School Values” already set. You can change this to reflect your own school’s values.
- Edit the school values provided
- Set the order for the value to be displayed
- Mark inactive a value that when you do not want it available
- Add a new school value by selecting the plus sign
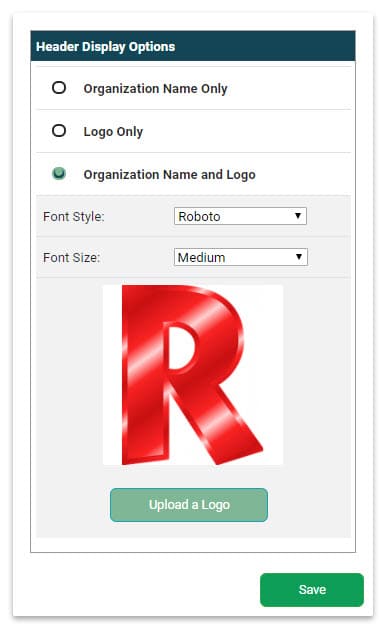
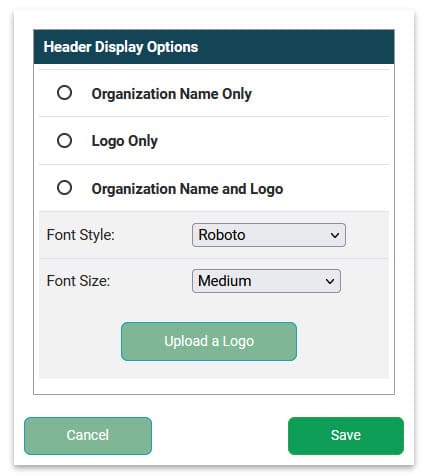
Header Display Options: You can design the look of your header.
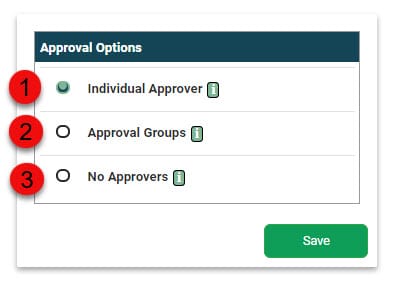
Approval Options: This option near the bottom of the page will determine how points requested by staff members will be approved. Select one of the following:
- Individual Approvers – This the default setting, where each user has an approver. The primary contact from PBIS Rewards is typically the approver but this can be adjusted. You can see the approver for each user in the “Manage Users” screen.
- Approval Groups – With this option, all of the Teacher Rewards (WPRfT) Admins will be able to approve requests for points to be awarded. Note: You can make any staff member an admin of WPRfT by editing their permission on the staff page in PBIS Rewards. Just click on Staff from the main menu, find their name in the staff list, and click on the permissions icon by their name.
- No Approvers – In this option, approvals for points are not necessary and all point recommendations and requests will be automatically approved.
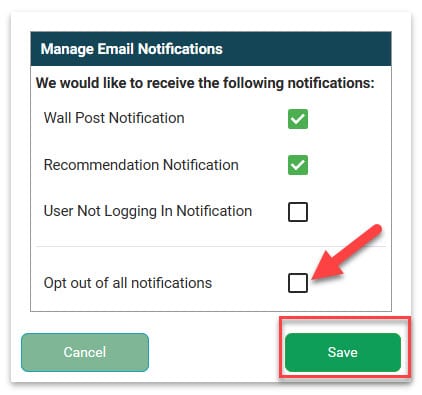
Manage Email Notifications – You can select for the staff to receive Wall Post Notifications, Recommendation Notifications, User Not Logging In Notifications or Opt-out of all Notifications. Check the desired boxes and then “Save.”
Header Display Options: Use this box to add your school’s name and or logo to the header of Teacher Rewards.
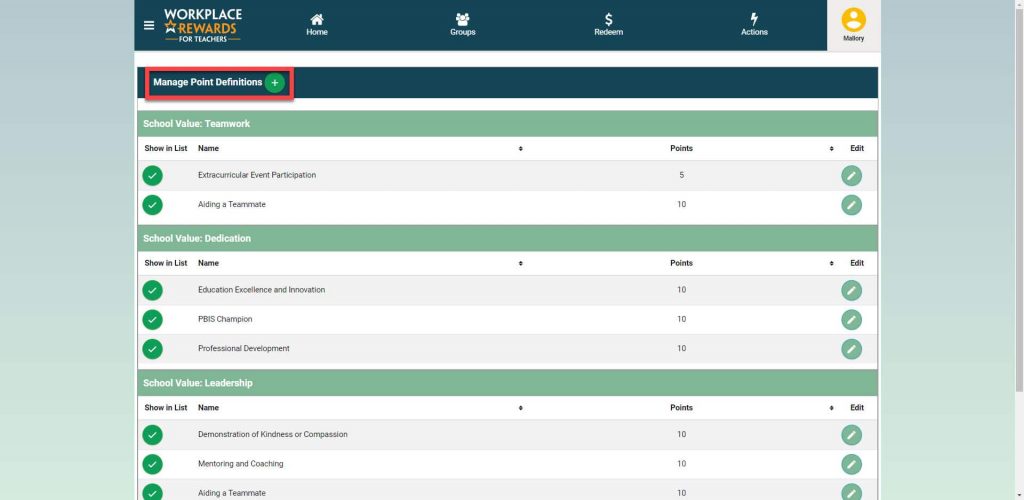
Manage Point Definitions: Select “Manage Point Definitions” from the hamburger menu. The School Values you have established will serve as categories. You can edit the default definitions with the pencil or add new point definitions by using the plus sign.
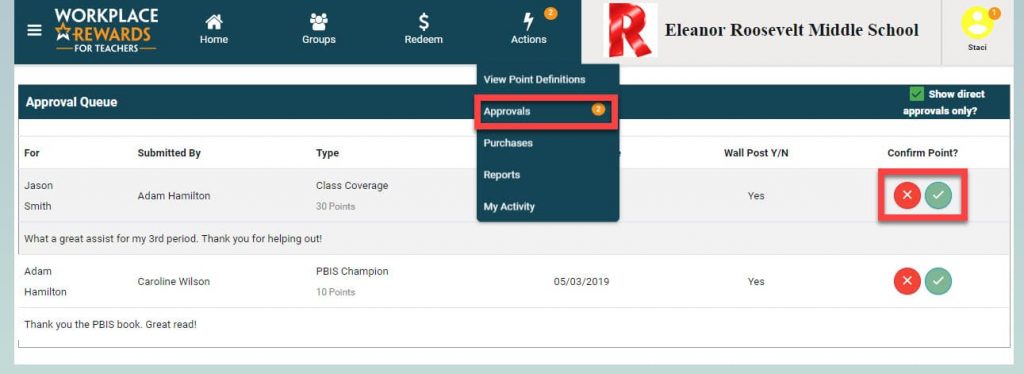
Approving Points: To approve, the approver will select “Approvals” from the “Actions” drop-down. Use the check to confirm the points or the X to reject them.