 Contact Roles
Editing Contact Roles
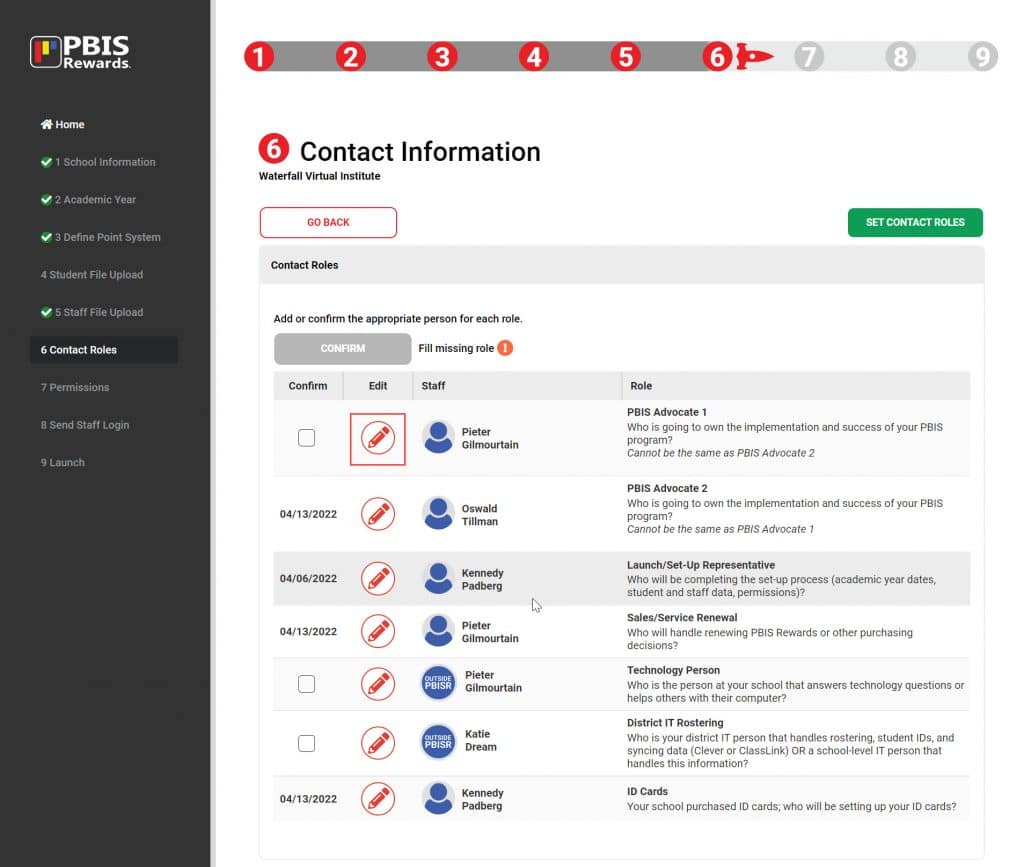
Whether from the Launch Wizard or right in the PBIS Rewards web browser, adding or editing Contact Roles is as simple as filling in the user with a search or creating the contact and then confirming them. This will be done in the Launch Wizard the very first-time PBIS Rewards is set up for your school and then maintained going forward in the School Information section of Settings.
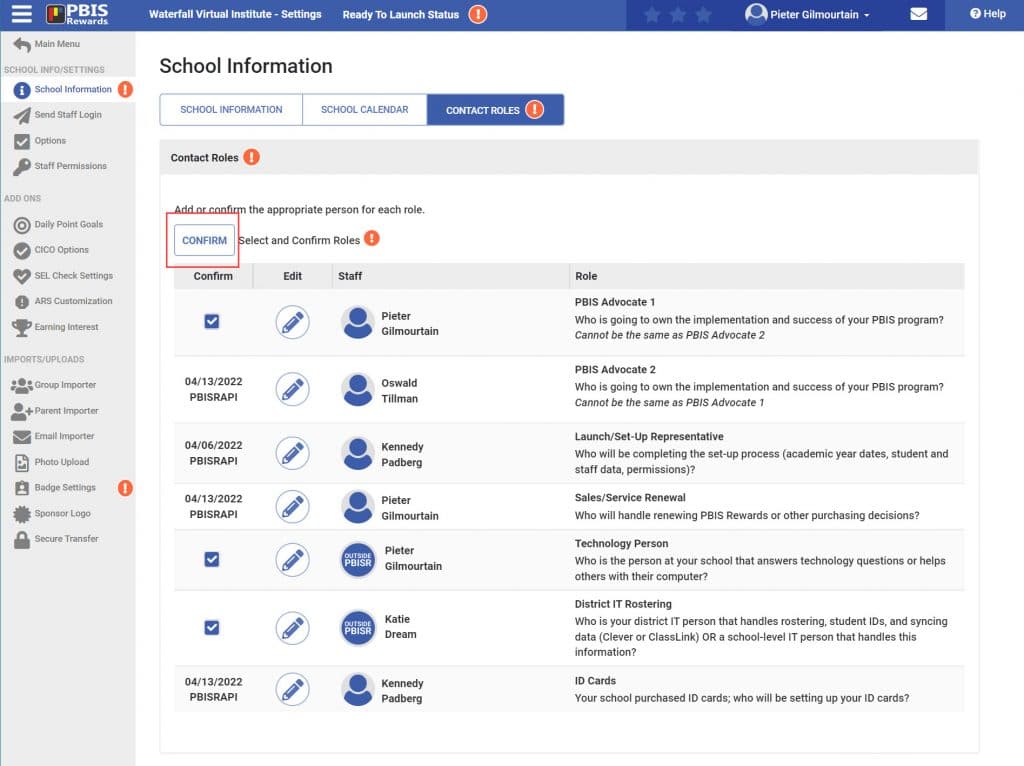
Select “Settings” from the left side main menu.
- Select “School Information.”
- Select “Contact Roles.”
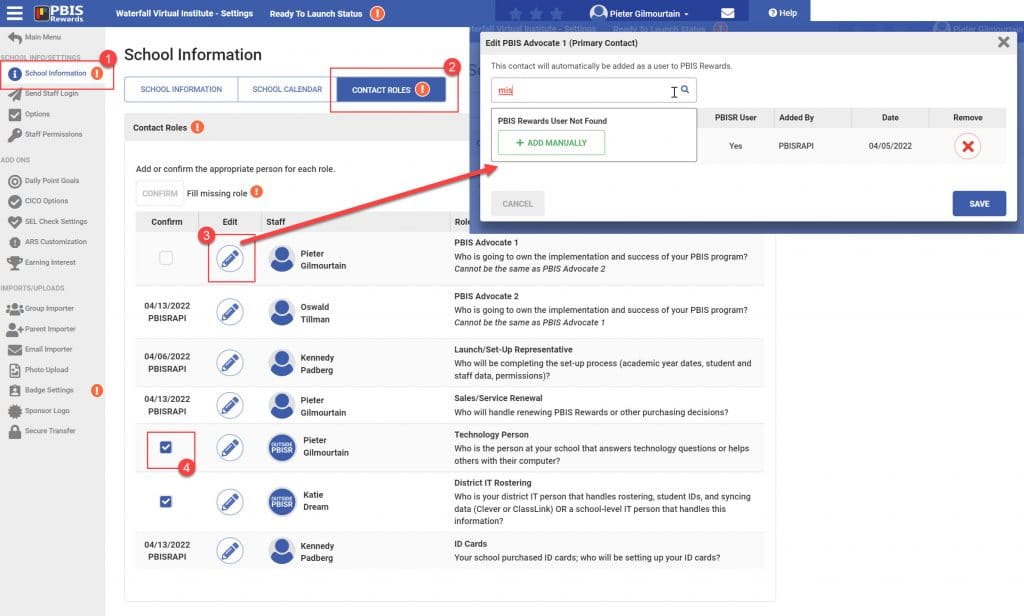
- Use the edit pencil to change any users that need to be updated. First, attempt a search for the user, if the user is not available in the Staff list for PBIS Rewards, use the “Add Manually” button to create the user.
- Check next to any contact that has an empty checkbox to confirm their assignment.
Once all the roles are filled, select “Confirm” and then “Save.”
Note: If you are a renewing school, your relaunch will not be complete until the School Calendar information is also completed.